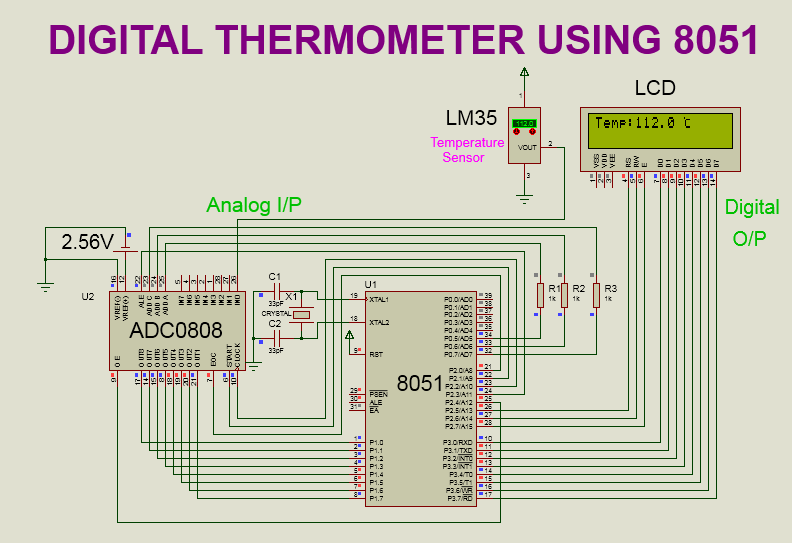
To display custom characters on the lcd using 8051 micro-controller.
SOFTWARE: KEIL MICRO VISION 4
SIMULATOR: PROTEUS 8.0
CIRCUIT DIAGRAM:

This project is about displaying custom characters on the lcd.Simple meaning of custom character is the character which is not available on the keyboard or which is made by modifying original characters.
In the lcd display,to display characters which are already available in the form of ascii value (from 'a' to 'z' or any other characters) we do not need to do anything.By sending the ascii value or sending the character directly to the lcd we can able to display those characters(which are already available) on the lcd.
In the lcd display,there is one controller which control all the operations of the lcd.Lcd controller has a memory called CG-RAM(character generator random access memory) which is used to create and store the custom character.
Size of the CG-RAM is 64 bytes.At a time we can able to display 8 custom characters(for 5*8 matrix) and 4 custom characters(for 5*10 matrix) on the lcd.Memory address is ranging from 40h to 7fh.
STEPS TO DISPLAY CUSTOM CHARACTER ON THE LCD:
1.Initialize the lcd display.
First initialized the lcd with all the required commands.
2.Send the address of CG-RAM where we want to stored the custom character data and send the custom character data on that address.
 |
| TABLE 1: CUSTOM CHAR LOCATION |
 |
TABLE 2: CUSTOM CHAR HEART DATA Every custom character has different shape hence selection of pixels(custom character data)differs according to the shape of the custom character. Here for better understanding I have taken an example of heart shape custom character. As shown in above table 2,in the first row there is not a single pixel is selected hence for the first row I have found value equal to 0x00.Same get followed for the second row. |
3.Provide the location where we want to display the custom character.
Supposed I want to display custom character on the first location.Then I will send the address 0x80 to the lcd.
4.Display the custom character.
After storing the custom character we need to display that character.
For displaying the character we need to send the custom character data to the lcd as per the storage location as mentioned in the above table 1.
Supposed I have stored the custom character on location 40h then I need to send data 0 to the lcd.If I have stored the custom character data on location 60 h then I need to send data 3 to lcd.Accordingly we need to send the data as per the storage location as mentioned in above table 1.
Once we have followed the second step we do not need to follow it continuously to display the custom character.Supposed I have followed the second step,then after that if I want to display that custom character(above example table 2) on another location supposed 0xc0.Then simply I will send 0xc0 and data 0 to the lcd.
Please refer below code for more understanding.PROGRAM:
sbit RS = P2^0;
sbit RW = P2^1;
sbit EN = P2^2;
void delay(int t);
void lcd_init(void);
void lcd_command(char c);
void lcd_data(char d);
void main()
{
lcd_init(); // lcd initialization (step 1)
while(1)
{
lcd_command(0x40); // cg ram location 1 to store the character (step 2)
lcd_data(0x00); // custom character 1 heart data
lcd_data(0x00);
lcd_data(0x0a);
lcd_data(0x1f);
lcd_data(0x1f);
lcd_data(0x0e);
lcd_data(0x04);
lcd_data(0x00);
lcd_command(0x80); // custom character 1 display location (step 3)
lcd_data(0); // to display custom character 1(step 4)
delay(5); // delay
lcd_command(0x48); // cg ram location 2 to store the character
lcd_data(0x00); // custom character 2 data
lcd_data(0x0e);
lcd_data(0x11);
lcd_data(0x1b);
lcd_data(0x11);
lcd_data(0x0e);
lcd_data(0x00);
lcd_data(0x00);
lcd_command(0x82);// custom character 2 display location
lcd_data(1); // to display custom character 2
delay(5);
lcd_command(0x50); // cg ram location 3 to store the character
lcd_data(0x0e); // custom character 3 data
lcd_data(0x11);
lcd_data(0x0a);
lcd_data(0x15);
lcd_data(0x11);
lcd_data(0x0e);
lcd_data(0x1f);
lcd_data(0x00);
lcd_command(0x84); // custom character 3 display location
lcd_data(2); // to display custom character 3
delay(5);
lcd_command(0x58); // cg ram location 4 to store the character
lcd_data(0x04); // custom character 4 data
lcd_data(0x0e);
lcd_data(0x1f);
lcd_data(0x00);
lcd_data(0x1f);
lcd_data(0x1f);
lcd_data(0x1f);
lcd_data(0x00);
lcd_command(0x86); // custom character 4 display location
lcd_data(3); // to display custom character 4
delay(5);
lcd_command(0x60); // cg ram location 5 to store the character
lcd_data(0x00); // custom character 5 data
lcd_data(0x00);
lcd_data(0x0a);
lcd_data(0x1b);
lcd_data(0x04);
lcd_data(0x1b);
lcd_data(0x0a);
lcd_data(0x00);
lcd_command(0x88); // custom character 5 display location
lcd_data(4); // to display custom character 5
delay(5);
lcd_command(0x68); // cg ram location 6 to store the character
lcd_data(0x0e); // custom character 6 data
lcd_data(0x0f);
lcd_data(0x0e);
lcd_data(0x1f);
lcd_data(0x0e);
lcd_data(0x00);
lcd_data(0x00);
lcd_data(0x00);
lcd_command(0x8a); // custom character 6 display location
lcd_data(5); // to display custom character 6
delay(5);
lcd_command(0x70); // cg ram location 7 to store the character
lcd_data(0x0e); // custom character 7 data
lcd_data(0x0e);
lcd_data(0x04);
lcd_data(0x1f);
lcd_data(0x0e);
lcd_data(0x0a);
lcd_data(0x00);
lcd_data(0x00);
lcd_command(0x8c); // custom character 7 display location
lcd_data(6); // to display custom character 7
delay(5);
lcd_command(0x78); // cg ram location 8 to store the character
lcd_data(0x0a); // custom character 8 data
lcd_data(0x0a);
lcd_data(0x04);
lcd_data(0x1f);
lcd_data(0x0e);
lcd_data(0x0e);
lcd_data(0x0a);
lcd_data(0x00);
lcd_command(0x8e); // custom character 8 display location
lcd_data(7); // to display custom character 8
delay(5);
lcd_command(0xc0);// custom character 1 display location
lcd_data(0);// to display custom character 1
lcd_command(0xc6);// custom character 3 display location
lcd_data(2);// to display custom character 3
}
}
void lcd_init(void) // lcd initialization
{
lcd_command(0x38); // 8 bit,2 line,5*8 matrix
lcd_command(0x01); // clear display
lcd_command(0x0f);//display on cursor blinking
lcd_command(0x06); // Entry mode
lcd_command(0x0c); //display on cursor off
}
{
P1=c; // send command to port 1
RS=0; // select command register to send the command
RW=0; // write operation
EN=1; // send high to low pulse on enable pin of the lcd
delay(5);
EN=0;
delay(5);
}
void delay(int t) / /delay function to provide delay
int j;
for(j=0;j<t*1275;j++);
}


Comments
Post a Comment